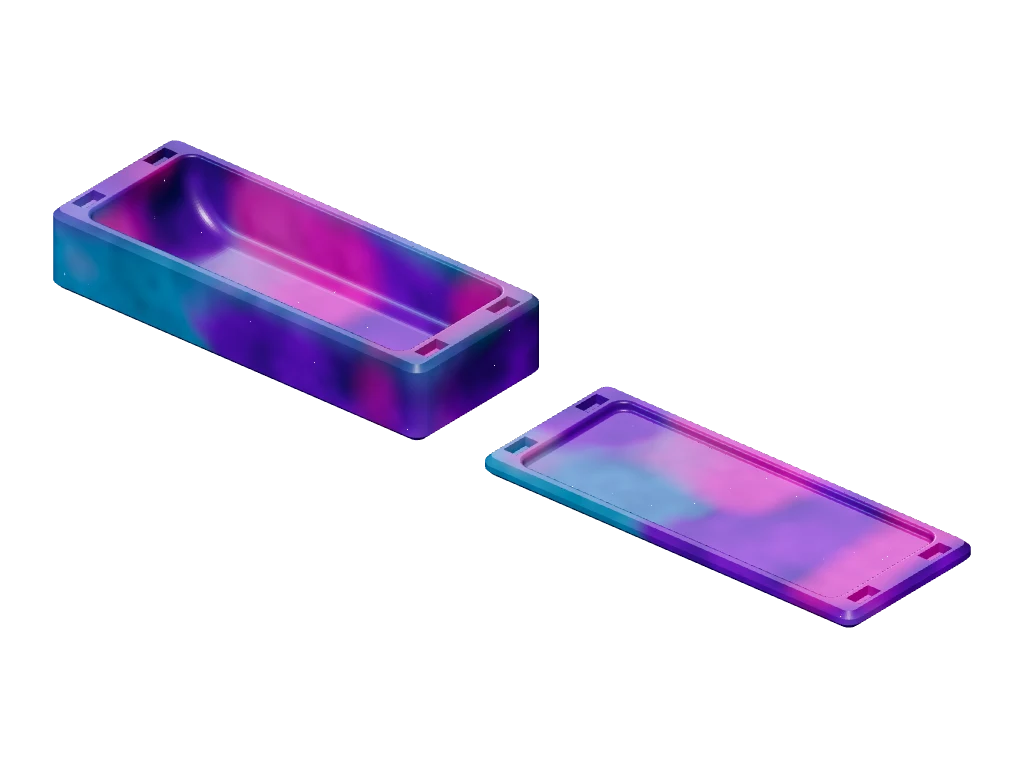
Dice storage and rolling box
A box and lid for keeping dice together and rolling at the table.
From $22.00
Loading 3D preview…
Bambu A1 · Fits the 256 mm bed
Print one panel flat on a broad face, in PETG at 100% infill with a 0.4 mm nozzle; all openings pass vertically through the plate. No supports. The store reserves an 11 mm bed margin.
Low-voltage indoor hobby enclosures only. Check connector bodies, retaining nuts, thread reach and enclosure clearance on both sides. Flat pan-head mounting; no countersinks, clips, sealing or electrical/fire rating. Physical print and fit tests are pending.
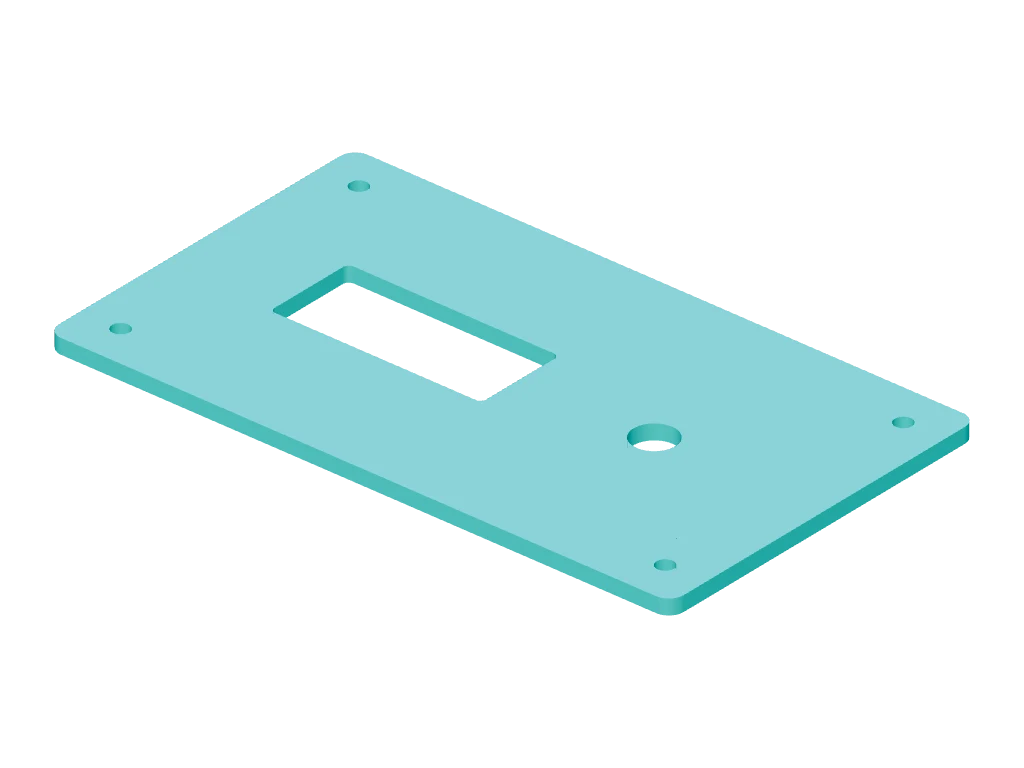
One measured PETG panel for an existing hobby enclosure. Customize mixed display/control openings, corner radii and independent screw centers.
A measured display opening and one round control. Check the entire module, retaining nut and thread length; this is not a named-device fit.
Measure the panel, openings and existing screws
Face the enclosure from outside. Use the panel’s bottom-left bounding corner as (0, 0): X goes right and Y goes up. Measure every center from those same edges. A tracing viewed from inside must be mirrored. Enter actual millimeters, not a connector’s product name.
Outside view · openings 1–2 · screws S1–S4. Dashed envelopes reserve connector overhang and screw heads; they are not printed features.
Finished panel: 125 × 72 × 3 mm; 3 mm outer corner radius.
| # | X | Y | Width | Height | Radius |
|---|---|---|---|---|---|
| 1 | 43 | 36 | 42.3 | 18.3 | 1.15 |
| 2 | 91 | 36 | 8.3 | 8.3 | 4.15 |
| # | X | Y |
|---|---|---|
| S1 | 8 | 8 |
| S2 | 117 | 8 |
| S3 | 8 | 64 |
| S4 | 117 | 64 |
Each opening uses matching entries in five lists: width, height, X, Y and corner radius. For a round hole, enter its diameter as both spans and half its diameter as the radius. For a square corner, use radius 0. The fit allowance enlarges each opening once across its full width and height; screw bores and the panel outline stay at their entered sizes.
Measure the old panel or receiving recess, including corner radii. Enter the finished panel size you need, leaving any recess clearance yourself. Print tolerances vary. Trace the complete outline and every center before ordering; existing screw bosses must be sound and flat.
Measure the largest connector body, flange or retaining nut that projects beyond its opening on either face. Enter at least that overhang per side under More dimensions; the same conservative value applies to all openings. Dashed envelopes must leave 1 mm between each other, 2 mm to the panel edge and 1 mm to a screw head. Check deeper enclosure walls, circuit boards, cables and finger access separately; the diagram checks this flat panel only.
Check connector thread reach against the chosen panel thickness plus any washer and nut. Use pan-head screws without countersinking or overtightening. This is one flat, through-cut panel for low-voltage indoor hobby enclosures. No locating lip, clips, text, electrical/fire, shielding or sealing rating. Physical print and fit tests are pending. Stock panels or drilled sheet can cost less when suitable.
Replace a flat screw-mounted hobby enclosure panel with your own measured display, socket and control openings. Match the outside outline, one to six rounded-rectangle or round openings, and two to six existing screw centers. One PETG panel per quantity; enclosure, electronics and hardware are separate. Physical print and fit tests are pending; presets are measurement examples, without device-fit claims. Face the enclosure from outside. The panel's bottom-left bounding corner is the common origin: X right, Y up. Mirror any tracing viewed from inside. Enter the finished outside dimensions with any recess clearance already allowed. Each opening pairs entries in five ordered lists: width, height, X, Y and corner radius. Equal width/height with radius half the diameter makes a circle; radius zero gives nominal square corners. Total opening fit allowance adds once across each opening width and height, including a half-allowance normal offset around its corners. It does not resize the panel or screw bores. The live tables show finished dimensions. Measure the largest connector body, flange, nut or washer overhang beyond any opening on either face and enter at least that amount per side; one conservative overhang applies to all openings. Dashed envelopes reserve space and are not printed features. They must leave 1 mm between connector envelopes, 2 mm to the panel edge and 1 mm to every screw head. Screws keep at least 3 mm around bores, 2 mm around heads and 2 mm between neighboring heads. Compare the full panel, every opening and all existing screw bosses on a tracing. Enclosure depth, circuit boards, cables and hand access require a separate check. Check connector thread reach against panel thickness, nuts and washers. Use sound existing bosses, pan-head screws, no countersinking or overtightening. One flat panel only: no locating lip, clips, engraving, enclosure or circuit-board mounting. Low-voltage indoor hobby controls only; no mains protection, electrical/fire rating, shielding or sealing. This does not replace a required protective barrier. PETG, 100% infill and 0.4 mm nozzle; print flat on a broad face, with vertical through-openings and no supports. The complete panel must fit the 245 mm usable envelope inside the Bambu A1's 256 mm bed. Price follows the generated solid material volume and surface area including every aperture and bore; checkout validates and recalculates it. Physical print and fit testing are pending. Stock replacements, drilled sheet and other fabrication may cost less when suitable. Original geometry; no competitor CAD copied.
A box and lid for keeping dice together and rolling at the table.
From $22.00
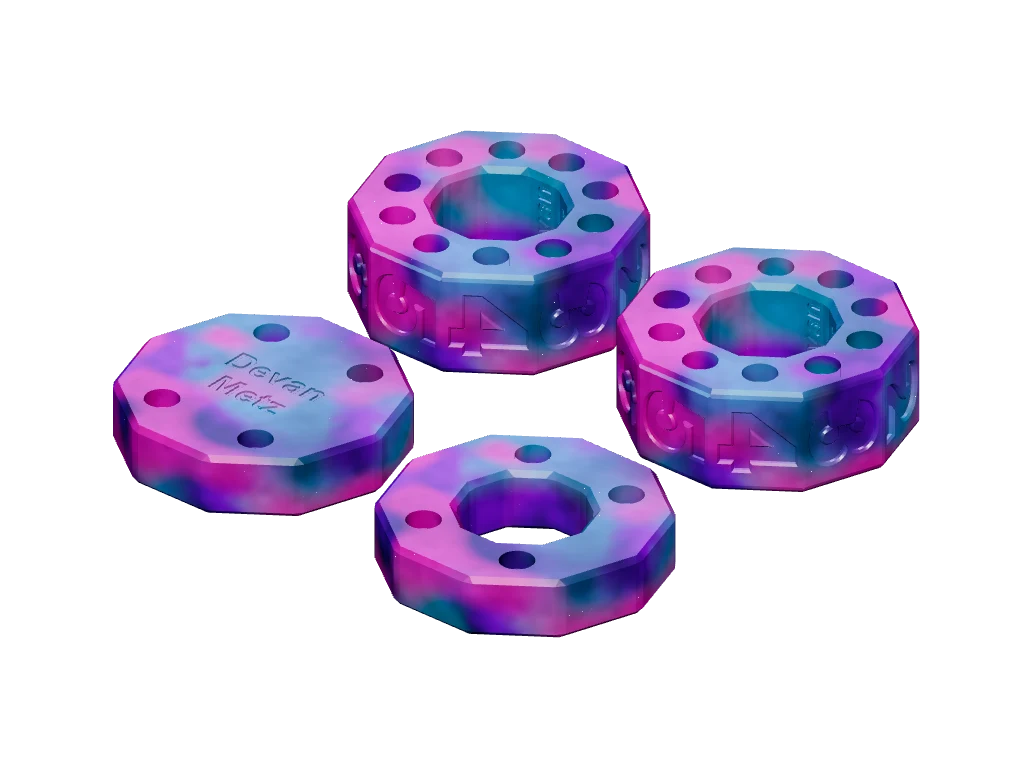
Two numbered rotary rings for tracking a two-digit game total.
From $16.00

Fit actual sleeves and the tallest loose deck stack in an inclined play tray with open finger access. Original tray remains available.
From $18.00Customizable
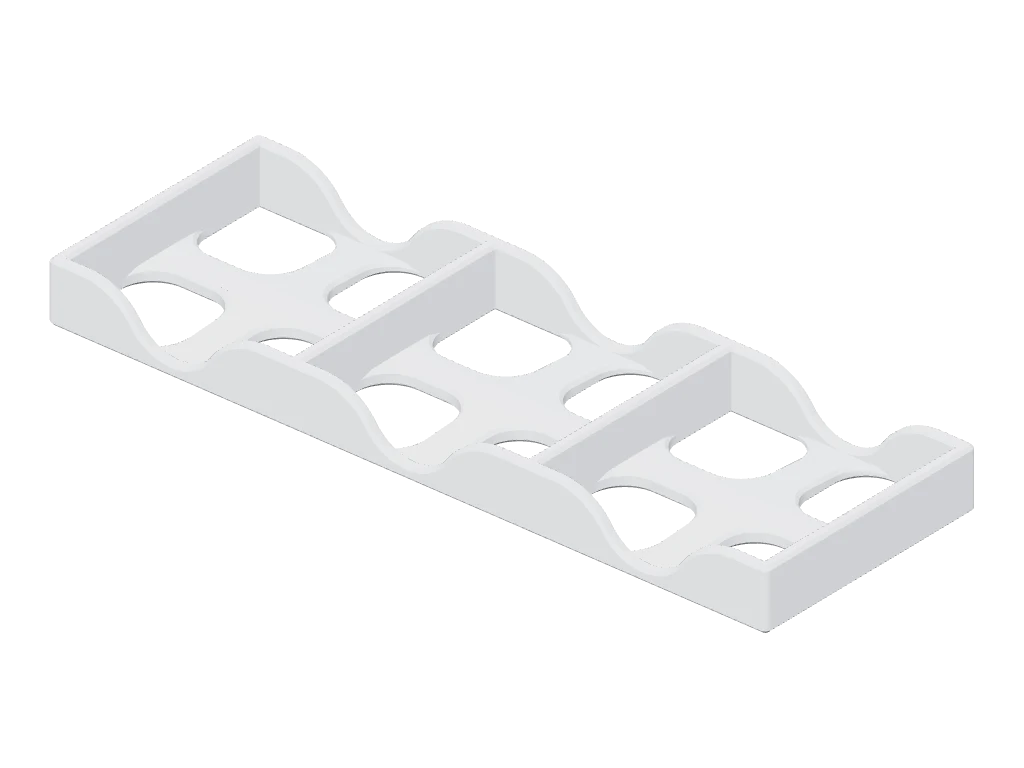
A long, narrow frame for separate card stacks.
From $18.00